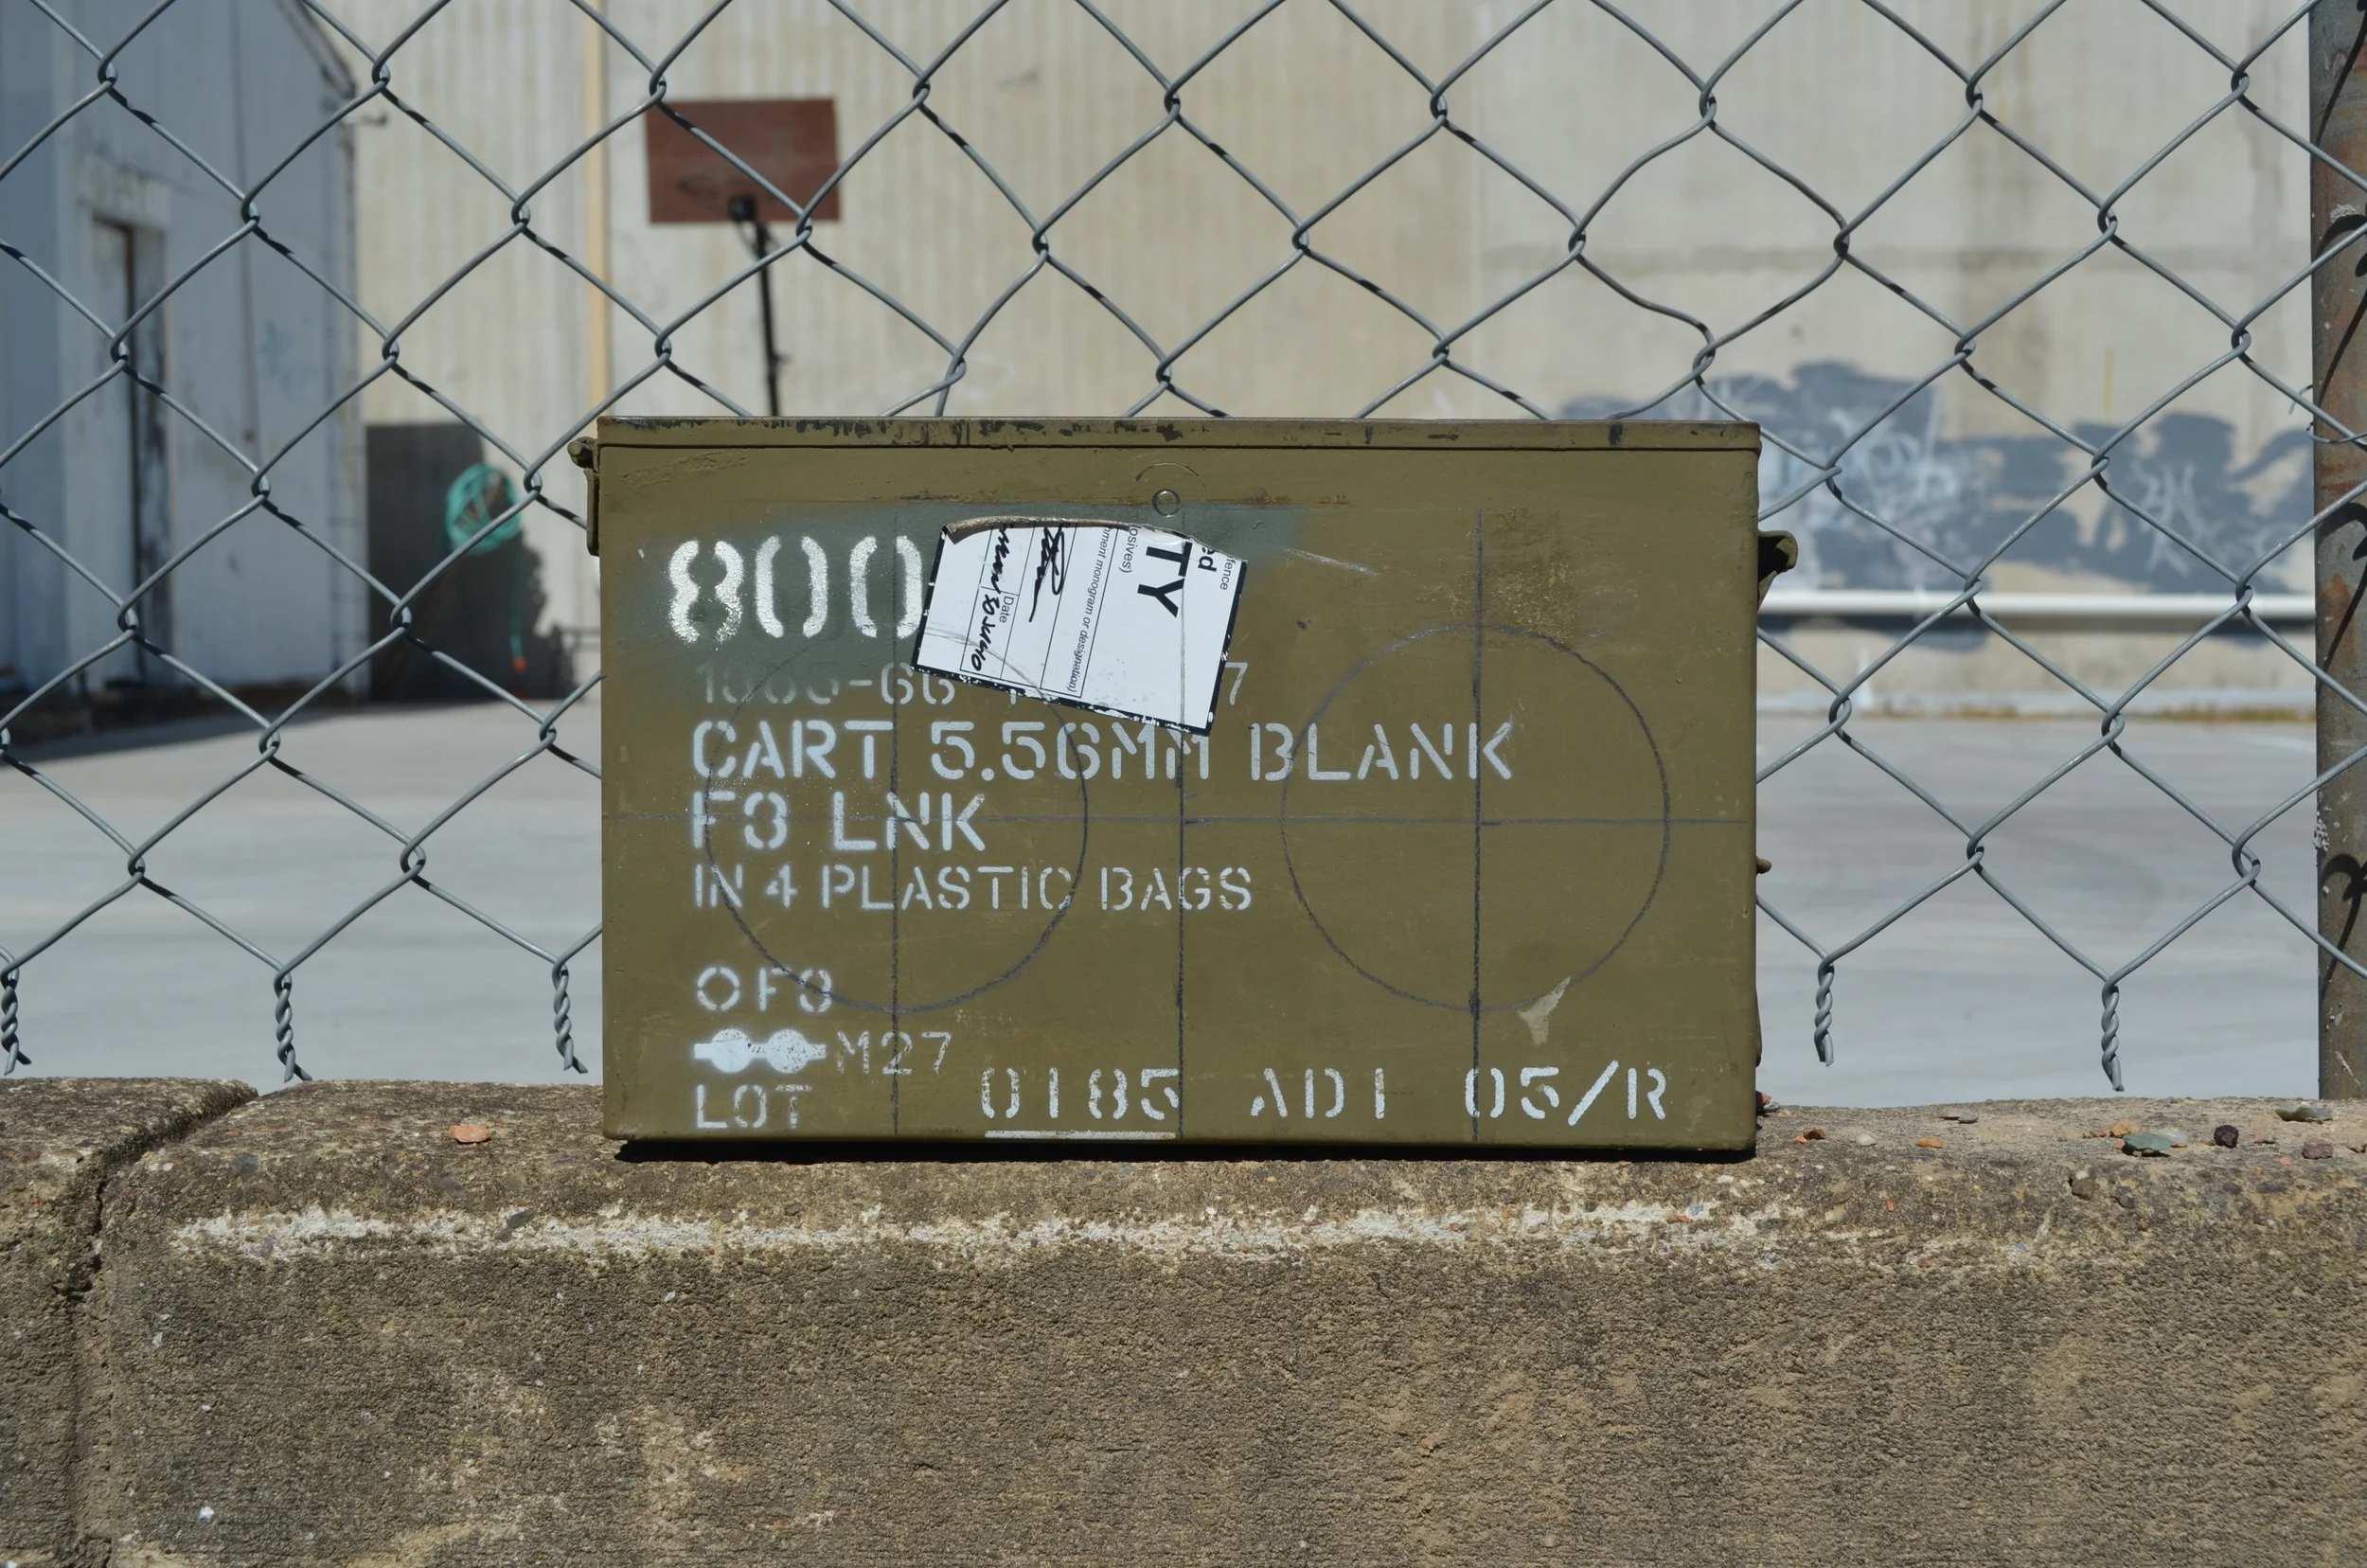
Stencil where you would like to place each component so that you can cut out / drill the necessary holes for all of the components. This step requires forethought and planning to understand where each component will be placed and how it will flow internally. This means you need to take into consideration the depth of each component as to ensure they do not interfere with other components.
If you decide to follow a similar layout and design to the AMPLFY speakers you must ensure that the Voltmeter and Switch are placed in the correct place. As the voltmeter has a smaller depth than the switch, place the switch farthest away from the speaker magnet and the Voltmeter nearest to the speaker. The pictures below demonstrates the correct placement.
As you can see the Voltmeter is on the right side of the panel adjacent to the panel with speakers. If the switch was placed where the Voltmeter is, the depth of the speaker and switch would cross over, making it impossible to mount both components.
Additionally, The DC Power Socket is located in the lower right corner of the panel as to allow enough room for the battery to fit snug against the wall under the switch and the voltmeter. It is optional to place the battery here, however it does open up a lot of free space in the Ammo Box, where personal belongings can be stored temporarily (such as phone wallet, keys etc.).
Below is a picture of the measurements and guidelines used to stencil the holes for the speakers.
Download Mid-woofer Installation Template
Note: When you print this template make sure you scale the size to 100% and / or unselect the 'print to fit page' option. Otherwise it will print to fit to page at 97% and the measurements will be off. The diameter of the circle should measure 95mm.
Stencil the Side Panel
The video below demonstrates the full process of Stencilling each speaker box.
Note: If you are planning on adding a phone charger - sketch a small circle to fit the size of the charger. Alternatively, phone chargers can be mounted inside the Ammo Box.


